
Wicked Beernut Home - Halloween Home - Crate&Barrel
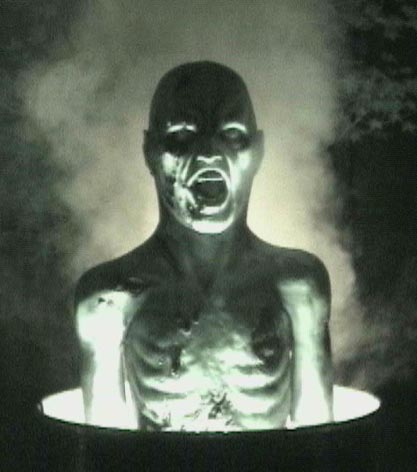
(This graphic is a conceptual illustration of Barrely Alive!)
Premiered Halloween 2002
Most of the pictures on this web page are thumbnails. Each thumbnail is ¼ size and ¼ quality of the full image, approximately 3K - 10K bytes. Each thumbnail is a hyperlink to a full image that is approximately 30K - 100K bytes.
The Premise
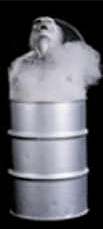
A large, black barrel sits amongst other garbage cans and trash. A fire can be seen burning inside of the barrel. Smoke streams into the dark night sky. Suddenly, a large explosion throws a cloud of smoke high into the air. A decomposing body leaps from the barrel with a gut-wrenching scream. He's neither dead nor alive. He's Barrely Alive!
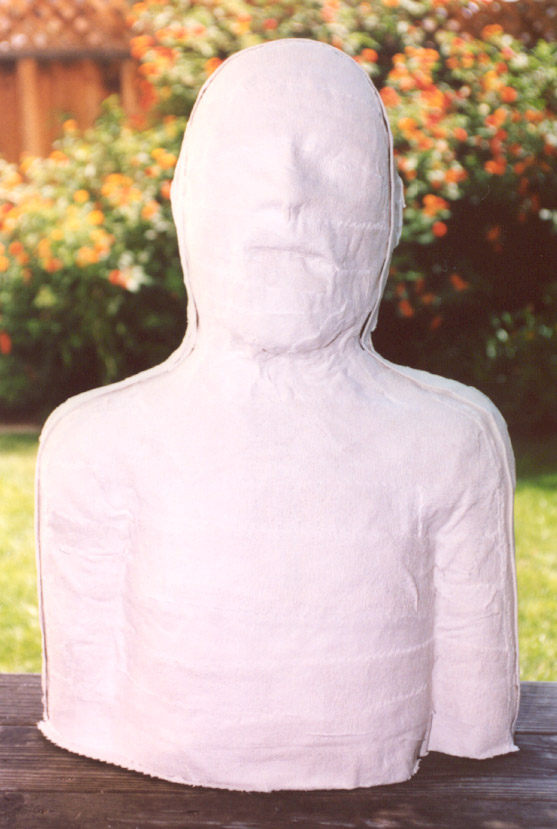
(This is an actual photograph of Barrely Alive!)
Introduction
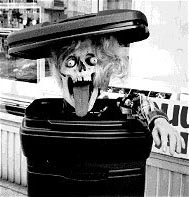
Carl Chetta is generally credited with having invented the TCT (Trash Can Trauma). Larry Lund's Halloween Page has instructions for building Carl's TCT.
Barrely Alive was inspired by Distortion Unlimited's Barrel Buster.
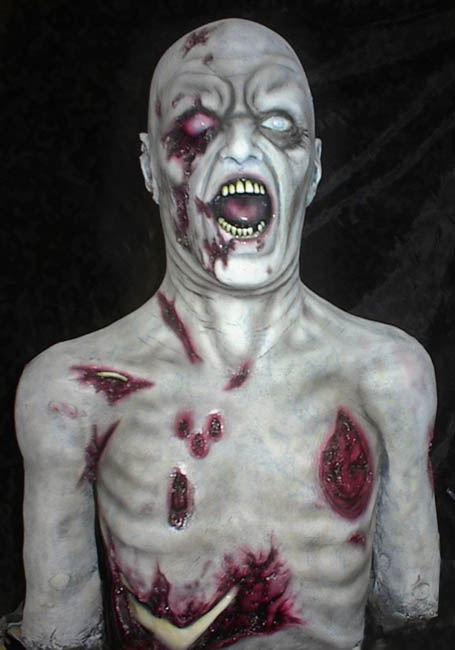
Barrely Alive used a Death Studio's Back from the Dead prop,
Materials
|
55 Gallon Drum |
Free |
|
|
Antari Diablo Flame Machine, http://www.hollywooddj.com |
$39.00 |
|
|
$95.00 |
|
|
|
Por-A-Kast |
|
I used Por-A-Kast to create a 3/4" plate in the top of the head. |
|
BJB TC-265 Soft Urethane Foam |
$26.25 |
I used soft urethane foam to fill the Back from the Dead prop. |
|
Johnson & Johnson 4" Fast Set Plaster Bandages |
$31.00 |
I used plaster bandages to create a mother mold of the Back from the Dead prop in order to fill it with foam. |
|
Bimba 24" Non-Rotating Air Cylinder, NR-0924-DXP |
$77.15 |
I used a 24" cylinder to lift the Back from the Dead prop. |
|
SMC Corporation Sub-plate, SPF0191-02, Motion Industries, Inc. |
$16.75 |
|
|
SMC Corporation Valve Body and Solenoid (1), NVFS2100-3FZ, Motion Industries, Inc. |
$54.30 |
|
|
Mannesmann-Rexroth Flow Control Valve (1), 540-632-600-1, Motion Industries, Inc. |
$12.80 |
I used a single flow control valve. |
|
Gemini Little Dragon 800 W Fog Machine |
$79.00 |
|
|
Radio Shack, 20-Second Recording Module, 276-1323, http://www.radioshack.com |
$9.99 |
|
|
First Step Microcontroller Kit (unassembled), #3-475, http://www.robotstore.com |
$32.00 |
The whole prop will be controlled by my favorite BASIC stamp I. The eight I/O will be used for,
|
|
Crydom Solid State 5A SIP DC, CX240D5, CC1063-ND, http://www.digikey.com |
$9.02 x 3 = $27.06 |
SSRs are used to switch the solenoid valve and strobe light, air cannon and the fog machine from the stamp. |
|
Momentary SPST Switch, #275-618, http://www.radioshack.com |
$1.89 |
The momentary SPST switch serves as the reset button. |
|
Green Blinking LED, #276-305, http://www.radioshack.com |
$1.69 |
The blinking green LED serves as a prop-ready indicator. |
|
LED Holder, #276-079, http://www.radioshack.com |
$0.59 |
(refer to Green Blinking LED) |
|
Air Conditioner Junction Box |
|
|
|
Crydom Relay Board |
|
|
|
Ness Variable-Speed, Mini 20-Watt DJ Strobe |
$8.00 |
|
|
Metal Standoffs (10), #276-195, http://www.radioshack.com |
$1.29 - Set of Four x 2 = $2.58 |
The metal standoffs are used in conjunction with the stamp and the Radio Shack recording module. |
|
(1) 1/8" Phono Plug Jack, http://www.radioshack.com |
|
The phono plug jack is used to connect the amplified speakers to the Radio Shack recording module. |
|
Heavy Duty 9 V Battery Snap Connectors, #270-324, http://www.radioshack.com |
$1.89 - Package of Five |
The 9 volt snap connectors are used to connect the stamp and the Radio Shack recording module to the 9 volt transformer. |
|
300 mA 9 V Transformer, #273-1767, http://www.radioshack.com |
$8.99 |
The 9 volt transformer is used to power the stamp and the Radio Shack recording module. |
|
Amplified PC Speakers |
|
|
|
Amplified Subwoofer |
|
|
|
4" x 2 1/8" Handy Box (Single Outlet), Duplex Cover and White Duplex Receptacle, Orchard Supply Hardware |
$0.59 + $0.39 + $0.49 = $1.47 |
The 4" x 2 1/8" handy box is used to supply power to the solenoid valve(s) and strobe light. |
|
4" Square Outlet Box (Dual Outlet), Cover and White Duplex Receptacles (Two), Orchard Supply Hardware |
$1.39 + $0.89 + 2 x $0.49 = $3.26 |
One 4" square outlet box serves as the main junction box. The SSRs, amplified speakers and 9 volt transformer connect to the main junction box. |
|
6' Household Extension Cord (1 or 2) |
$1.49 x 1 or 2 = $1.49 or $2.98 |
The extension cords are used to wire the solenoid valve(s) to the 4" x 2 1/8" handy box. |
|
3-Wire Electrical Cord with Grounded Plug |
|
The 3-wire electrical cord will supply power to the main junction box. |
|
3 /8" Romex NM Connector (4), Orchard Supply Hardware |
$0.99 - 4 Connectors |
The connectors are used to secure the electrical cords to the junction boxes. |
|
1 /4" NPT x 1/4" Compression Fittings (3 or 6), Motion Industries, Inc. |
$2.18 x 3 or 6 = $6.54 or $13.08 |
The compression fittings are used to connect the polyethylene tubing to the solenoid valves. You need three compression fittings per solenoid valve. |
|
Teflon Thread Seal Tape |
$1.19 |
|
|
1 /4" NPT Male Plug Air Quick-Disconnect Fitting |
|
The air quick-disconnect fitting is used to connect the input air. |
|
2' of 1/4" Polyethylene Tubing |
$0.07 per foot |
The polyethylene tubing is used to plumb the air quick-disconnect fitting to the solenoid valve(s) and the solenoid valve(s) to the cylinders. |
|
Phil Miller Air Cannon |
$150 |
Refer to my Air Cannon page for more information on the Phil Miller air cannon. |
|
|
$700 - $750 |
|
Silk Flame
I used an Antari Diablo Flame Machine silk flame,
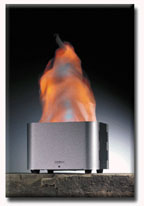
I cut a shelf matching the outline of the silk flame from a 1/2" sheet of aluminum. I had a hole milled in the shelf to match the orientation and the diameter of the fan intake port. I used small bolts to secure the silk flame to the shelf and angle brackets to secure the shelf to the barrel.
Air Cannon
I incorporated an air cannon built from The Haunted "How-To" of Phil Miller, presented by Underground Entertainment magazine.

Armature
The armature was Death Studio's Back from the Dead prop,
 -
- -
-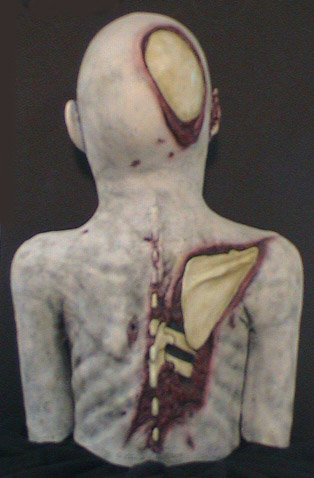
The Back from the Dead prop was filled with BJB TC-265 soft urethane foam. In order to fill a latex prop with foam, you must make a mother mold, otherwise the expanding foam will distort the shape of the prop. I first covered the prop with Syran wrap and then made a mother mold using Johnson & Johnson plaster bandages. This is a frontal shot of the two-part mother mold. Vaseline served as the release agent between the two halves.
Mechanics
I first poured a plastic plate into the top of the head using Por-A-Kast. The plate serves to more evenly distribute the force of the cylinder. I drilled a hole in the plate through the top of the head corresponding to the center of gravity of the armature. I used a black Sharpie marker to mark the position of the plate and then removed the plate from the mold.
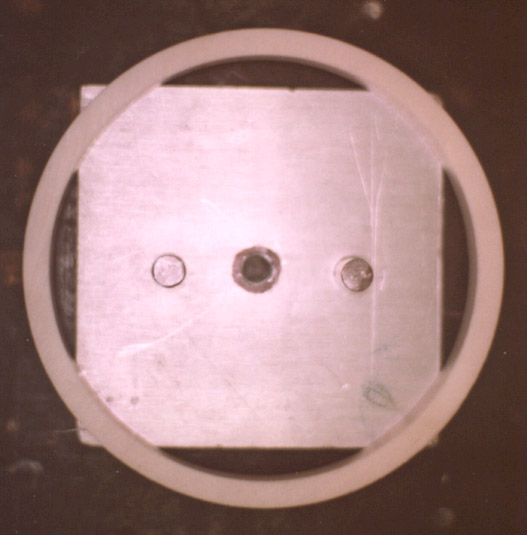
I started with a square aluminum plate. A length of all-thread was used to extend the rod of the cylinder. I drilled and tapped a hole in the center of the plate to accept the all-thread. I drilled and tapped a pair of holes to either side of the center hole to accept sawn-off bolts that would serve to prevent the armature from rotating on the plate. I positioned the plastic plate on the all-thread and marked and drilled holes to accept the sawn-off bolts.
The corners of the plate were rounded to allow it to comfortably pass through 4" schedule 40 PVC. The center photograph shows the finished plate mounted on top of the cylinder. The photograph on the right shows the plastic plate resting on top of the aluminum plate. You can also see the couple that was used to join the cylinder rod and all-thread.
 -
- -
-
I roughed up the smooth surface of the plastic plate using a file. I applied flexible super glue to the plate and repositioned it in the top of the head. I covered the length of 4" PVC with Vaseline. I secured the length of 4" PVC to the plate using oil-based clay. I mixed the two-part soft urethane foam and began to pour it around the PVC pipe. Unfortunately, the PVC pipe didn't release as easily as I had hoped. I ended up working a thin piece of wood that I beveled at the end in between the foam and the PVC until I was able to remove the PVC. In hindsight, I would have used a light form (a cardboard mailing tube for example) that I could have left in place.
This is the completed assembly. The whole assembly sits in the bottom of the barrel. The foot of the cylinder passes through a hole in the bottom of the barrel and is secured using a locknut and washer. The air cannon was secured to the rectangular aluminum bracket using a large hose clamp.
 -
-
