Wicked Beernut Home - Halloween Home
Most of the pictures in this document are thumbnails. Each thumbnail is ¼ size and ¼ quality of the full image, approximately 3K bytes. Each thumbnail is a hyperlink to a full image that is approximately 42K - 103K bytes.
My air cannon was built from The Haunted "How-To" of Phil Miller, presented by Underground Entertainment magazine.
 -
- -
-
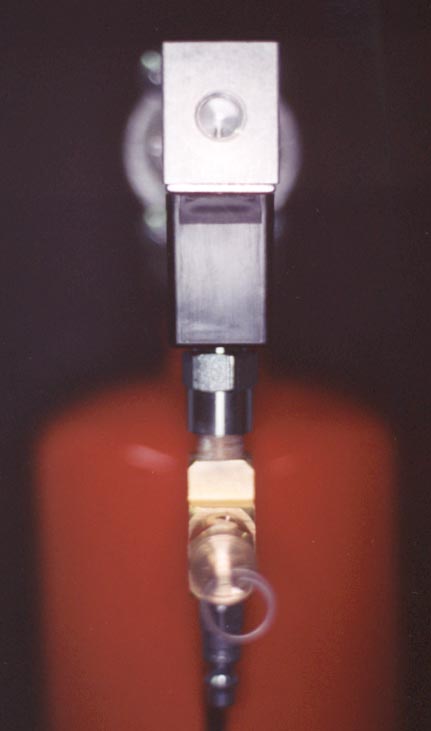
You can significantly improve the safety of the air cannon by using the ARO coil connector, CHW-30, (Grainger #4HN56, $10.86) that was designed to be used in conjunction with the ARO body ported, 1/4" port size, 120 VAC miniature direct-acting solenoid valve (Grainger #4HN54, $50.35).
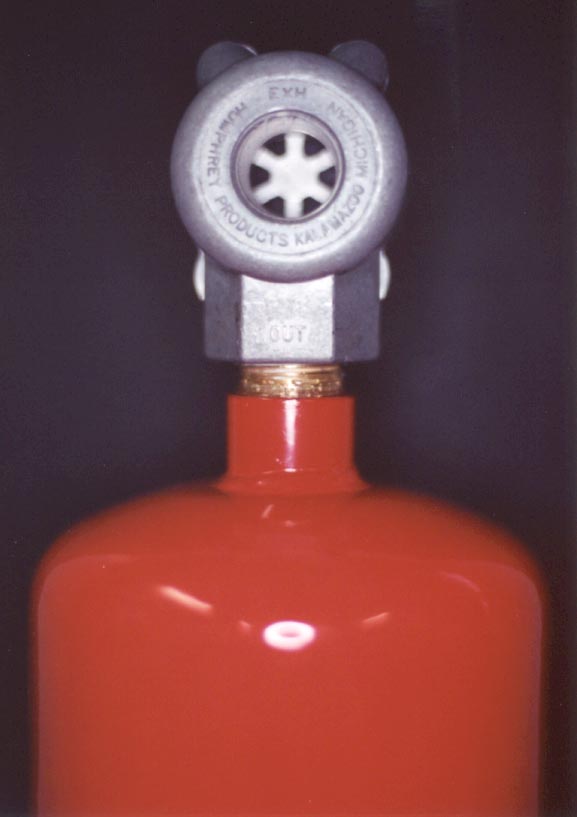
The biggest challenge I had in constructing the air cannon was getting a seal in between the 3/4" nipple and the fire extinguisher. This was primarily do to my inability to get good leverage on the fire extinguisher. I ended up using a strap wrench and epoxy glue. I'm confident that this resulted in a safe and secure seal.
I'm thrilled with the construction and performance of Phil's design. I've tested it at up to 75 PSI.
Refer to my Barrely Alive web page for a video of the air cannon used in conjunction with a Gemini Little Dragon 800 Watt fogger.